Trigger Automations
Spotler has the Automations module and the older Campaign module. With these modules it is possible to send 1-on-1 mails based on certain changes, fully automated. In this way you can create full customer journeys.
With SpotlerAutomate you can also trigger these Automations (and Campaigns) from within Dynamics 365. Consider, for example, a welcome process for new customers, an e-mail with a brochure or an automatic 'customer lifecycle campaign' that is relevant to the recipient.
New Automation
An Automation needs to be created in Spotler.
Add an External Trigger and give it a good label (this label will be visible in Dynamics 365). When you create this External Trigger it will automatically generate a Code.
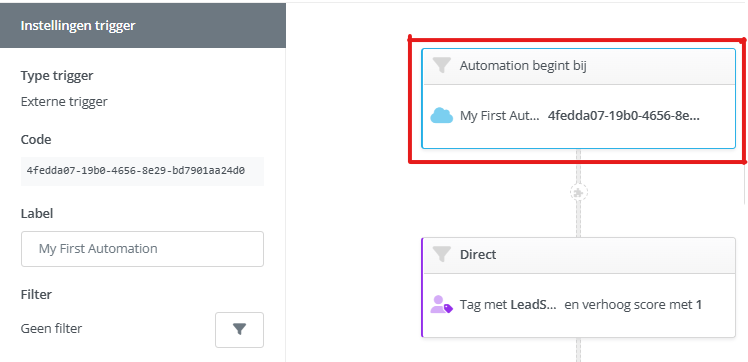
❗Don't forget to change the status of the Automation to Final and publish it.
Twice a day, published Automations will be synchronized to Dynamics 365.
💡Tip: You can also refresh this yourself by creating a Spotler Job with the operation Refresh Automations.
Start Automation
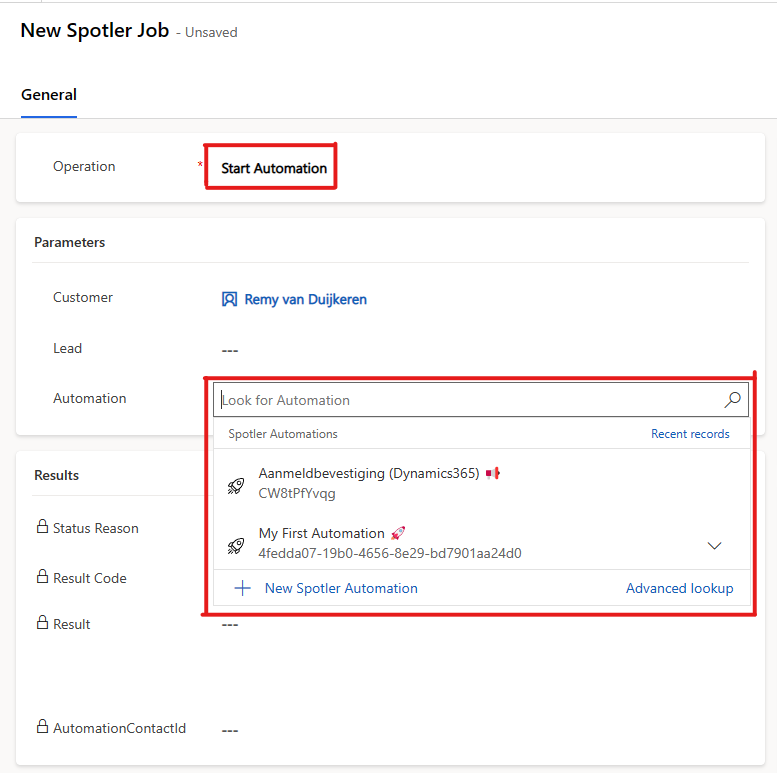
To start an Automation from Dynamics 365, we create a Spotler Job with the operation Start Automation.
Select the Customer (=Account/Contact) or a Lead for which you want to start the Automation.
Select the desired Automation you want to trigger. Keep in mind that the list contains both Automations (🚀) and Campaigns (📢)!
Now press Save to create the Spotler Job. This will trigger the Automation to start.
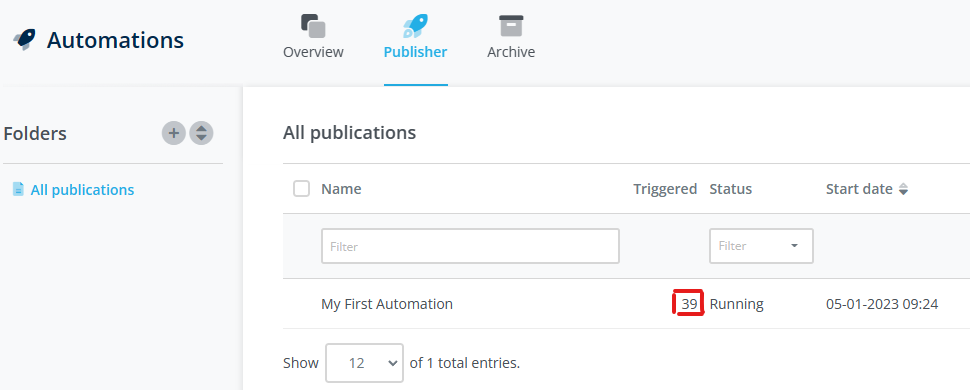
In Spotler, under Automation > Publisher, you can see then number of the times the published Automation is triggered. From here it is also possible to see the Report.
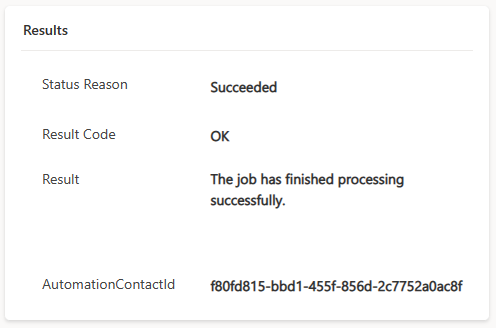
When the Automation has been triggered, the Spotler Job will be updated with the result. When successful the Result Code will be OK and AutomationContactId will have a value. This value represents the specific run that is started, which optionally can be used to stop the Automation.
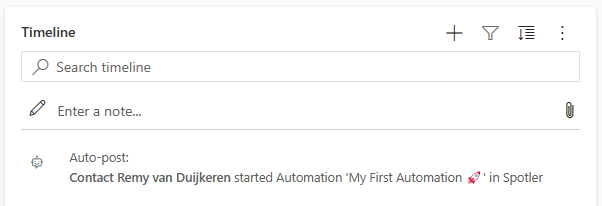
Successful started Automations are also shown as post in the Timeline of the Contact, Lead or Account.
Automation Fields
It is possible to personalize messages that are sent by Automations with data from Dynamics 365. This data can be added when we trigger an automation, and therefore doesn't need to be known to Spotler beforehand.
To define which data can be added to a trigger, we add Automation Fields to message(s)_, like [automationfield:invoiceEmail]. When we do this, the automation field invoiceEmail will become available to add to the trigger.
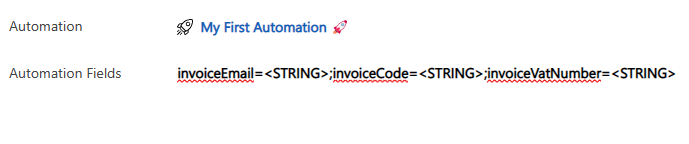
When we create a Spotler Job in Dynamics 365 and select the operation Start Automation, the Automation Fields will be prepopulated with all the possible fields and the expected type of the value (STRING, URL or PRODUCTLIST).
We need to replace the type hint with the actual data we want to pass to the Automation. Make sure each Automation Field is separated with a semicolon (;) or a Enter (⏎). If you don't want to pass a value for a specific Automation Field, leave the field blank or remove it completely. The following examples are all valid:
invoiceEmail=invoice@company.com;invoiceCode=;invoiceVatNumber=NL123456
invoiceEmail=invoice@company.com;invoiceVatNumber=NL123456
invoiceEmail=invoice@company.com
invoiceCode=
invoiceVatNumber=NL123456
invoiceEmail=invoice@company.com
invoiceVatNumber=NL123456
When the type hint is a PRODUCTLIST, we can add more than one value to the Automation Field. They need to be placed in curly brackets, separated by commas (like {<STRING>,<STRING>,<STRING>,etc}).
So:
crosssell={<PRODUCTLIST>}
Becomes:
crosssell={123,567,891}
Stop Automation
Sometimes we want to stop an already long running Automation. For example, when a 'New Customer Journey'-Automation is started, but the customer canceled the purchase.
We can stop an Automation in the same way we started an Automation, by creating a Spotler Job.
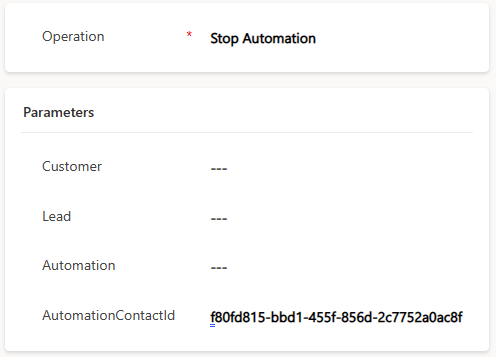
Create a Spotler Job with the operation Stop Automation.
We select the Customer or Lead and the Automation we want to stop. Press Save to create the Spotler Job. This will trigger the Automation to stop.

This will stop all the running automation's for this specific Automation and Contact.
Stop a specific run
If you only want to stop a specific run, you can use the AutomationContactId. The AutomationContactId is stored in the Spotler Job that triggered the Automation to start. No other parameters are needed, except for the AutomationContactId.
You can specify multiple AutomationContactId's by separating them with a comma.